Artificial Grass Installation in San Mateo & Santa Clara County

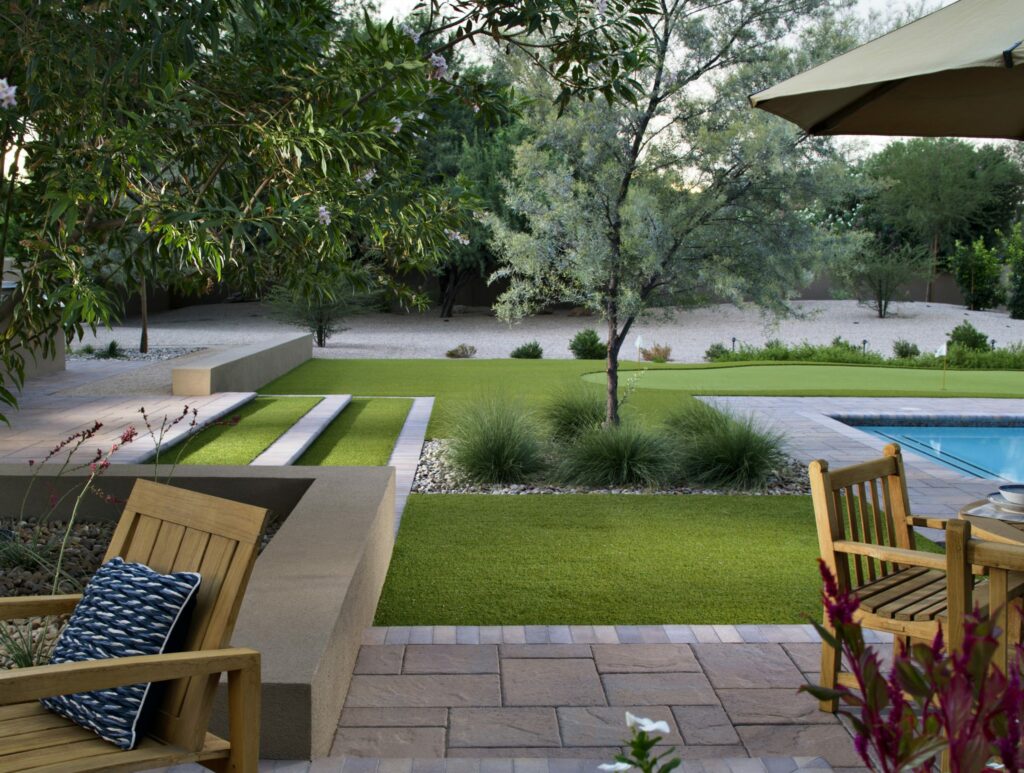
Are you tired of watering your grass and forking out money just to maintain your lawn? If so, it might be time to consider installing artificial grass in your outdoor living space. Not only will you be able to eliminate the chore of mowing the lawn, but you won’t have to water or aerate your lawn. Not to mention, synthetic grass looks lush all year round, no matter the weather.

Why Choose Sequoia Outdoor?

We take care of the design, purchasing, preparation and installation. Need your artificial turf replaced or repaired? We do that too!

Why Install Artificial Grass?

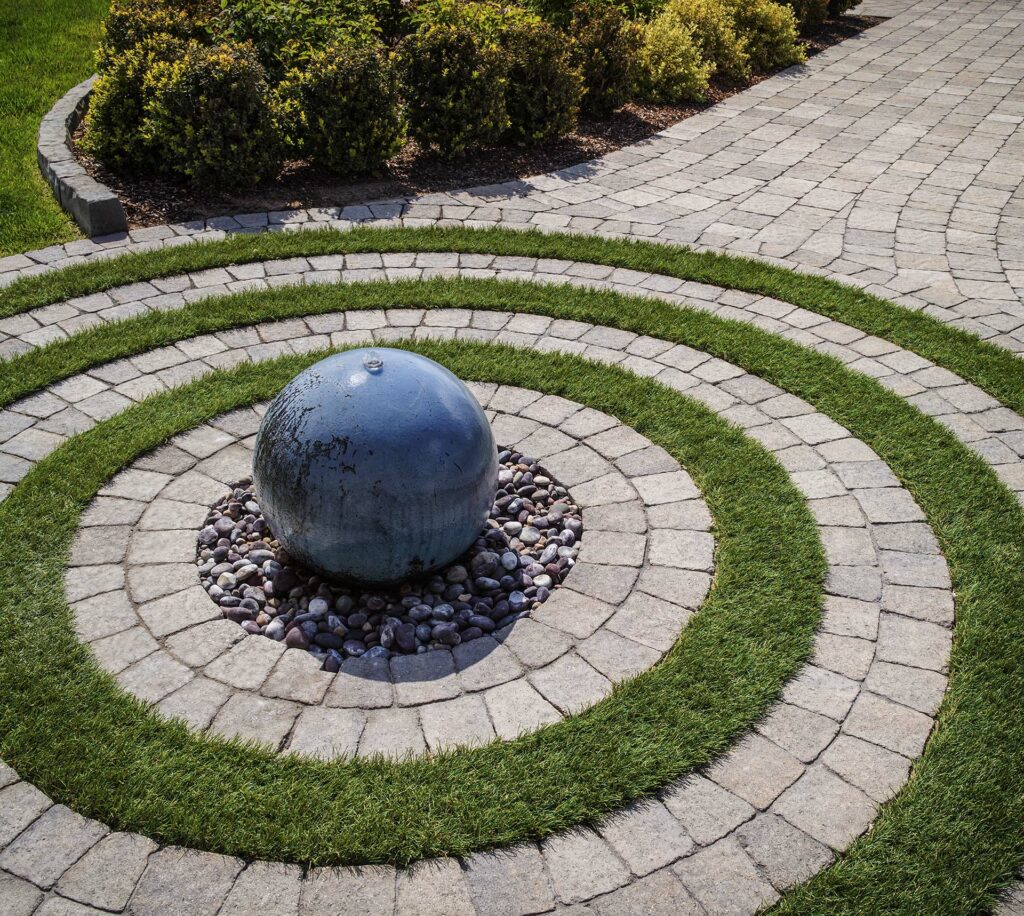
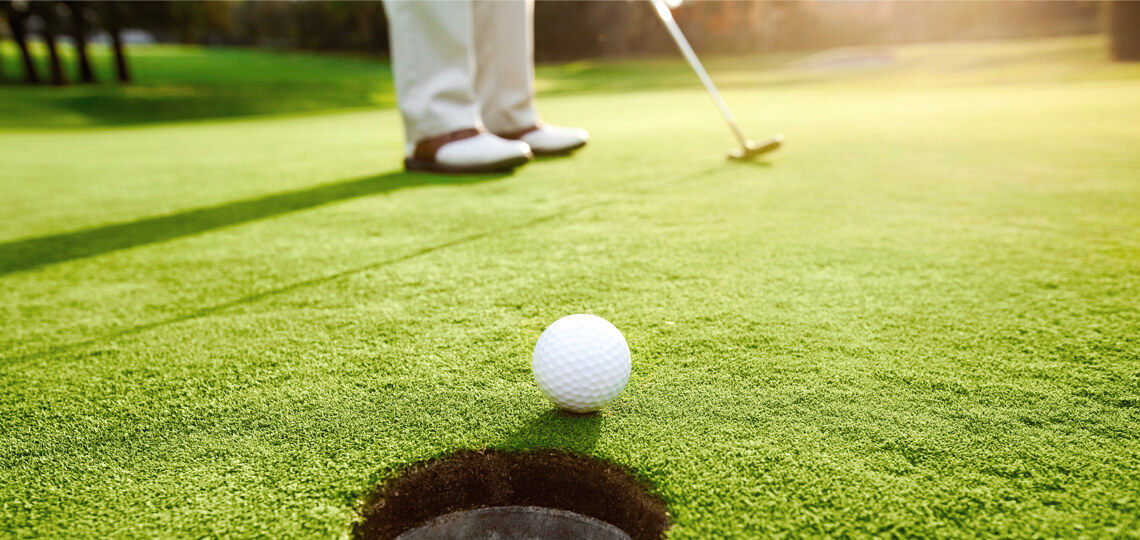
Chances are if you have a large grassy front or backyard, your water bill might feel painful, especially during the summer months. Synthetic turf is a great way to drastically reduce your monthly bill, boost your curb appeal and compliment the aesthetic of your house. Synthetic turf is low maintenance making it especially appealing to homeowners who are often out of town on business, take a lot of vacations, or rent the property out. After the turf installation process, you’re looking at a very low-cost and low-maintenance lawn. 

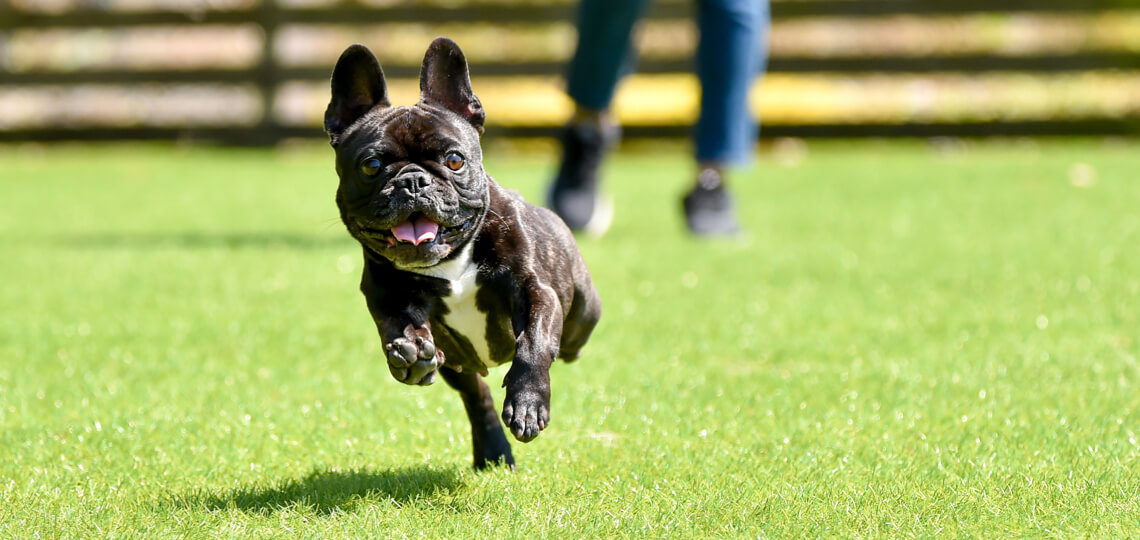
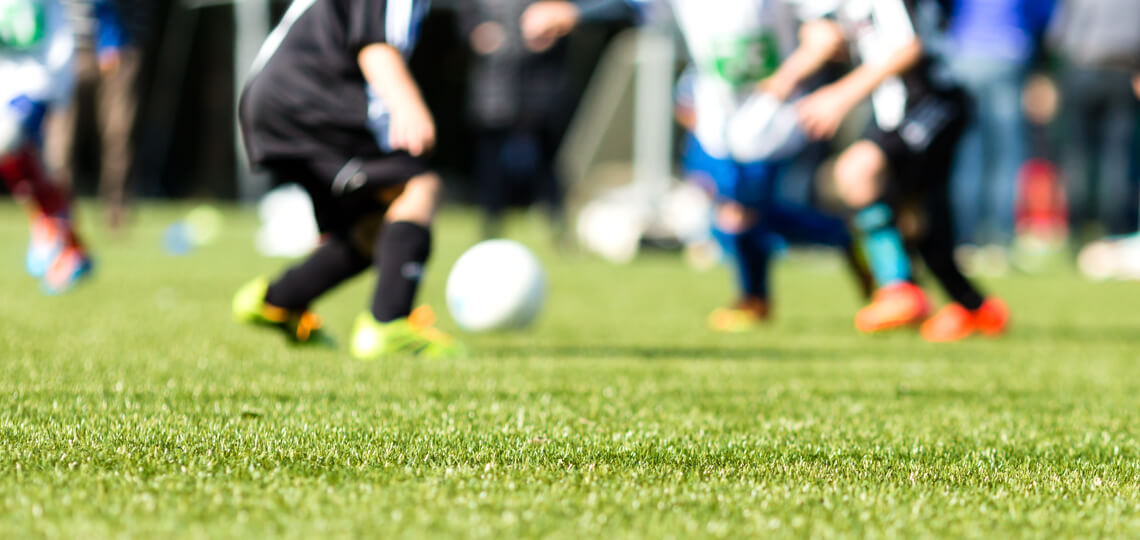
Turf is especially appealing for pet owners because of its easy cleanup. Not to mention, you won’t have to worry about your dog tearing up the grass or digging holes in it. Call today to learn how artificial grass is a safe, sanitary, and low-maintenance lawn option for homes with dogs.

The Artificial Turf Installers Bay Area Residents Prefer

Our team has over 35 years of experience installing synthetic grass and can install any artificial turf project in San Mateo County. If you’re interested in learning more about how we can help with your artificial grass project, call us today!
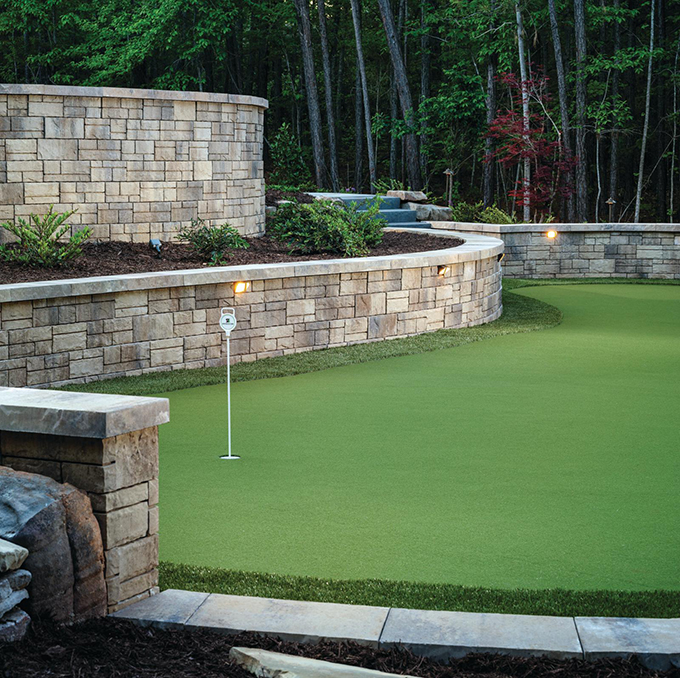
Benefits of Artificial Turf in Northern California

  • Instantly boost your curb appeal & property value
  • Eliminate mowing your lawn and other grass maintenance tasks
  • Most of California is in a drought! Help the environment and save money on your water bill by using less water outdoors 
  • Enjoy a lush turf lawn year-round with our Urine Zero pet solution

Urine Zero – The Pet Odor Solution

  • Eliminates pet urine odors 
  • Uses advanced microbe technology
  • 100% natural and environmentally safe
  • Comes in liquid concentrate form
  • Order now from $49.99 – $119.99.

Artificial Grass Installation Phases

Step

1

Synthetic lawn design and planning

We start the process by having one of our professional design consultants assist you with your design to ensure we have a clear picture for your overall design needs and goals for the project. Our goal in this step is to create as few seams as possible, as this will result in a more realistic looking lawn once completed. During this step we will also go over an accurate project estimate and any revisions that are needed to the scope in order to meet your project needs. Once the design is finalized we will use the diagram to figure out the appropriate quantities of material to order.

Step

2

Pre-demolition

Before demolition can even begin, all utilities (electrical, gas, water, sprinklers, etc.) must be properly located. This allows us to eliminate unnecessary problems during or after installation. If you have an existing sprinkler system, we can cap these for use at a later point in time or remove it all together depending on the customer’s preference. Any additions or modifications to the existing utilities must be accounted for at this time.

Step

3

Demolition

The existing soft-scape and/or hard-scape surface of your lawn area will be removed with a bob-cat. If a bob-cat isn’t necessary or it’s a smal space that a bob-cat can’t reach, we’ll use other demolition tools. If there are areas where trees or the foundation is protruding into the usable lawn space, saw-cutting may be necessary.

Step

4

Excavation

We will excavate 2 1/2 to 4 1/2 inches from final grade.

Step

5

Grading & Drainage

If the space requires additional drainage, we’ll install drains during this step to account for proper water flow away from your house.

Step

6

Install Optional Border

Bender board or paver mow strips will be installed for aesthetics and structural integrity around the outside of your project, wherever we are abutting up against soft-scape surfaces.

Step

7

Sub-base Compacting

Sub-base compacting is a crucial step as air gaps should never be left in the system, so we will use a plate compactor to compact the sub-base and prevent undulations or depressions later on.

Step

8

Base Preparation & Compaction

Roughly 2-3 inches of Class II Road Base will be dispersed throughout the base of your turf project and once the Road Base is set, it gets hosed down and compacted until a 95% minimum compaction rate is reached. A bob-cat is then driven over the base to ensure it’s compacted as hard as a rock — at a 95% compaction rate, there won’t be any tire marks left on the surface. 

Step

9

Weed Barrier Fabric

While not mandatory, we recommend installing a weed barrier fabric after the base preparation. This will ensure that weeds don’t sprout up through the turf. While weed turf is generally effective in preventing weeds, there is zero guarantee. We can do everything in our power to destroy them in terms of what is currently there, however, completely destroying root systems is nearly impossible. Weeds tend to sprout along the outer edges of the turf as it’s incredibly difficult to secure the edges. It’s important to note that while artificial grass is low maintenance that doesn’t mean you can install it and completely forget about it. Minor maintenance and care will still be needed over the lifetime for pristine looking turf. 


However, if you have pets, that will be using the turf as their bathroom, we highly recommend against installing the weed barrier as the barrier can soak up urine and hold onto a foul smell over time that is difficult to remove. We recommend Urine Zero to remove the urine odors on your artificial turf.

Step

10

Turf Preparation

Because the turf comes rolled up like a carpet, it’s important to roll it out completely to and allow it to sit out in the sun prior to the installation to help eliminate any wrinkles and bunching. If you skip this step, it’s possible that air pockets may develop in your turf lawn once that grass has settled after installation. Rolling out the turf is part of propper planning that will make sure your lawn is as seamless as possible. Once the fake grass is positioned properly, we’ll remove any extra and unnecessary turf making the installation process easier. 

Step

11

Seaming & Trimming

Once we’ve perfectly laid out the artificial grass, we’ll make sure the grass is rolled out in the same direction, meaning that all the blades of grass face the same direction. When it comes to seaming the sections of grass together, there are several seaming techniques and we may used a specific technique depending on the circumstance of the job. The various techniques include utilizing seaming tape in conjunction with adhesives, sewing tacks and nails (which are a popular method). Once the seams have been completed, the final step is to trim along the seams and edges of the grass.

Step

12

Border Preparation

In order to properly secure the border, we’ll nail down the perimeter of the installation area with 40-60d nails, which are 4-6 inches in length. We recommend placing them every 1-2 feet around the perimeter.

Step

13

Infill Preparation

The next step is to prepare the turf for infill installation, where we’ll use a power broom to sweep the turf in the opposite direction that the blades are pointing. What this does is make sure the blades are propped upright, allowing for the infill material to properly penetrate the grass and fall to the turf base. 

Step

14

Infill Installation

Infill is important because it’s used to weight down the turf and make it more plush underfoot — this will depend on the infill you use. Infill is also helpful as an antimicrobial, preventing degradation, and reducing heat consumption/overheating. The infill can be installed using a standard seed drop spreader to install the infill. It’s important to determine the amount of infill prior to installation because you’ll want to leave 5/8″ (+/- 1/8″) of grass blades exposed. Note that the amount of infill you’ll need varies based on the specific turf chosen and the metric needed for infill will be pounds per sqft of artificial grass.

Step

15

Final Trimming & Clean-up

Lastly, we’ll do a walkthrough of the project to make sure there are no out of place grass blades. If everything looks perfect, we’ll hose down the turf lawn, which completes the installation project and makes your lawn ready for use.

Frequently Asked Questions

Can I pair artificial turf installation with other services?

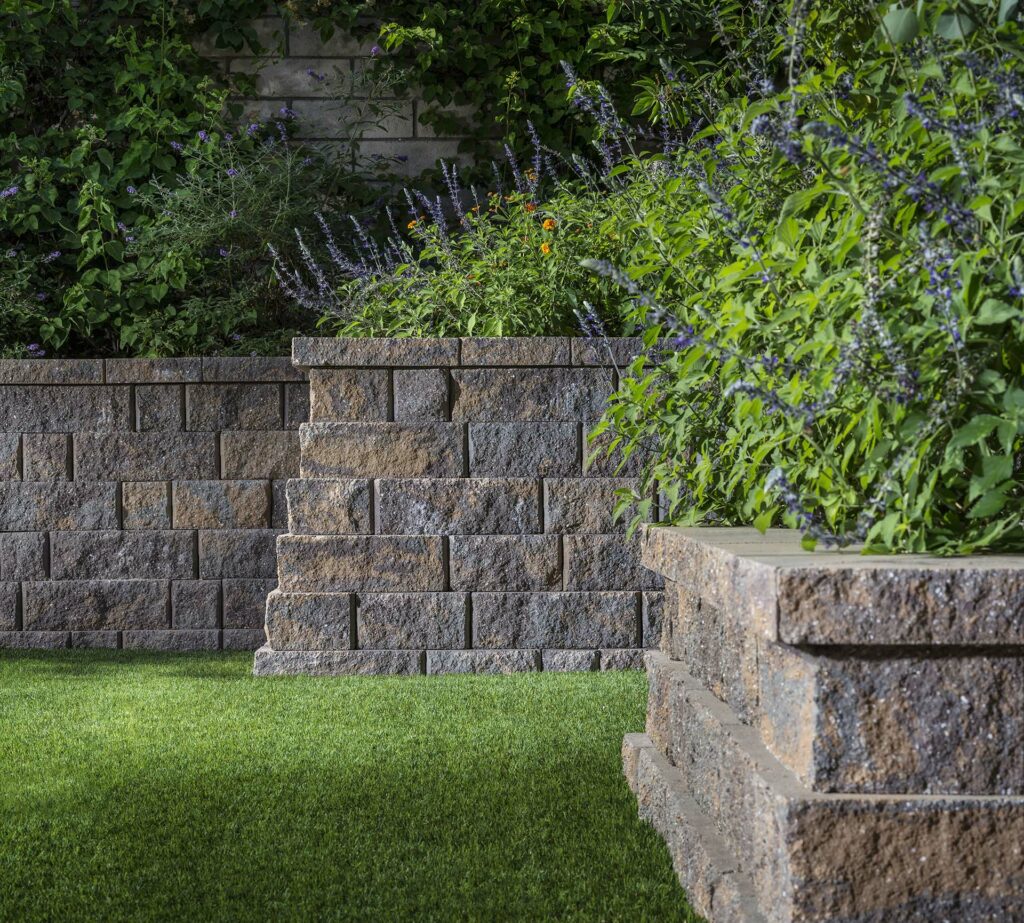
Absolutely! Many of our Bay Area customers opt for more than one service to achieve the yard they’re looking for. Browse our projects page to see our pavers, landscape design and outdoor living services in action with artificial grass installation.

What makes Sequoia Outdoor better than other Bay Area artificial turf companies?

Many artificial turf companies buy cheap products and install them without the proper licensure needed to do it right. A cheap product, paired with poor installation practices, can mean a difference of 20 to 30 years when it comes to the longevity of your investment. At Sequoia Outdoor, we use only the highest quality materials and the finest artificial turf installation team to make sure your turf lasts for years to come.