The Best Paver Installation Contractors in the Bay Area
If you’re looking for a trustworthy paver installation company in the greater Bay Area, you’ve arrived at the right place! With over 35 years of experience, we can help you make the best landscaping decision when investing in pavers.


Why Choose Sequoia Outdoor
for Paver and Hardscaping?
When you choose Sequoia Outdoor Design & Build, you’re picking a team that truly knows the paver design and installation. Whether it’s a new paver patio, driveway, poolside, garden path, outdoor kitchen, we bring expertise and a commitment to quality that’s hard to beat.
Pavers are the perfect choice—they’re durable, versatile for a range of designs, and easy to maintain. They’re often referred to as “interlocking pavers” because each piece locks together, creating a strong, cohesive surface that can handle heavy traffic and resist shifting.
Unlike natural stone, they’re cost-effective, and unlike concrete, they’re beautiful and low-maintenance.
What You Get with Sequoia:
Experience-driven design
We’ve been doing this for decades, so we know how to create outdoor spaces that look great and work well. Every design is tailored to your vision.
Commitment to quality
We use top-notch materials and skilled craftsmanship to make sure your outdoor space lasts. We pay attention to every detail.
Long-term reliability
We stand by our work and offer ongoing support and maintenance. Your outdoor space will keep looking great for years.
Transparency at every step
No fluff and no games. We’re an open book and share the details, including industry tips, so you’re always in the loop.
Customer-focused approach
Your needs come first. We work closely with you to bring your ideas to life and make sure you’re happy with the result.
Comprehensive insurances and licensing
We’re fully insured and meet all California licensing requirements, so your project is protected from unexpected issues. If something goes wrong, you’re covered, and your project won’t face unnecessary delays.
Pavers for Home Improvement
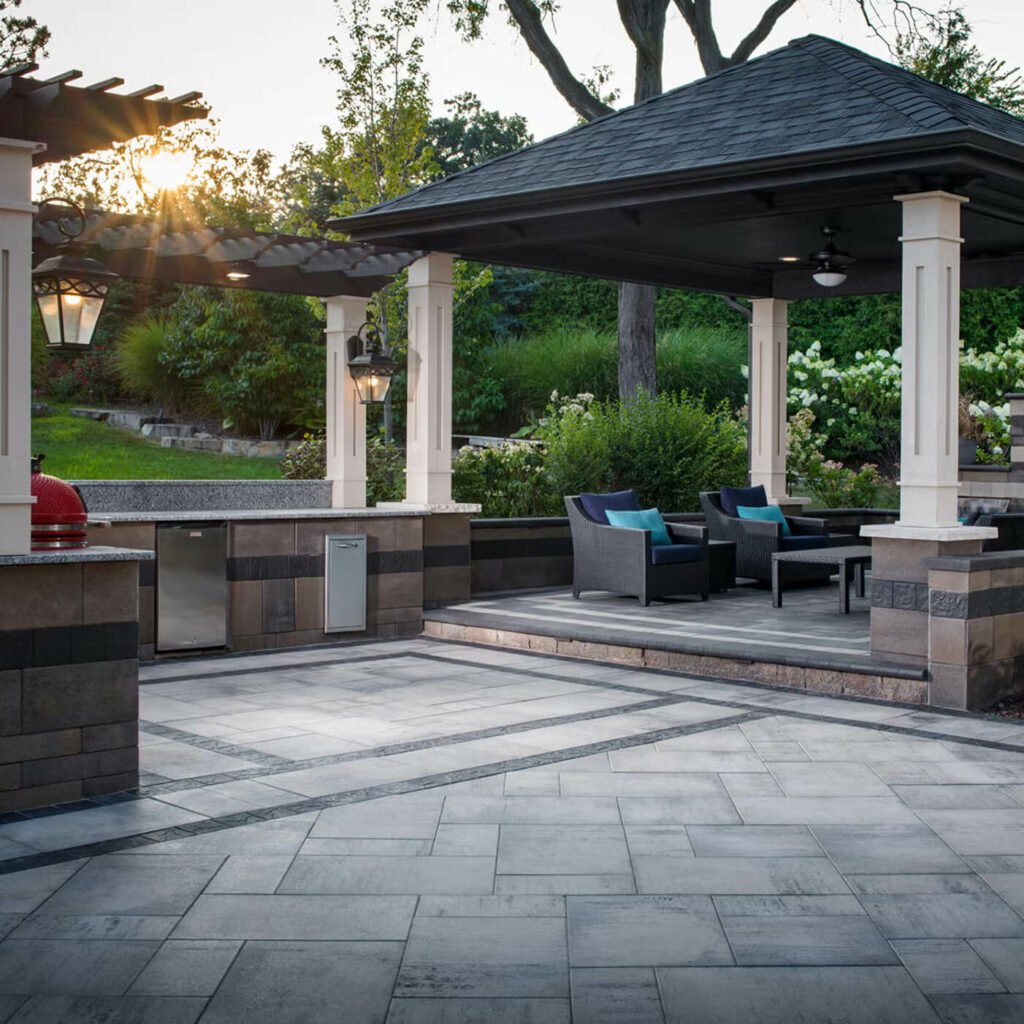
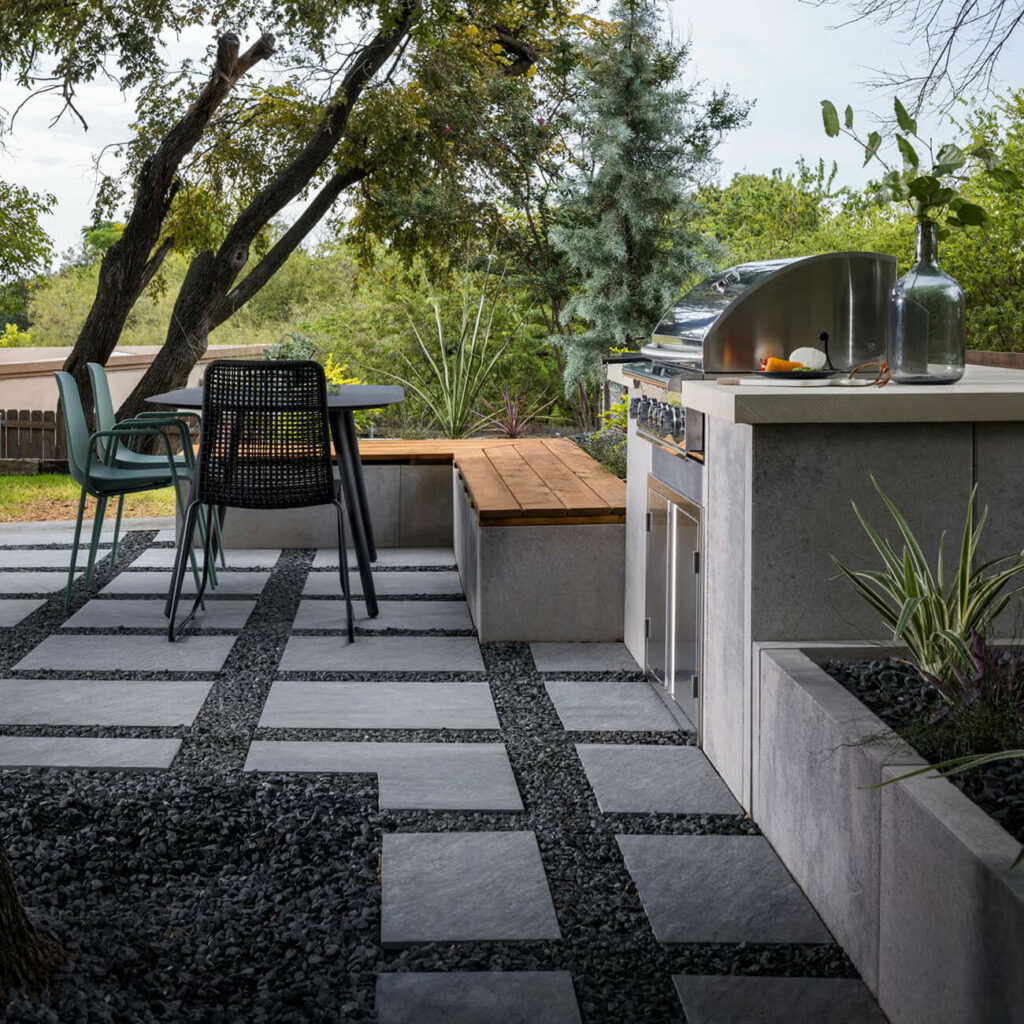
Paver Patio
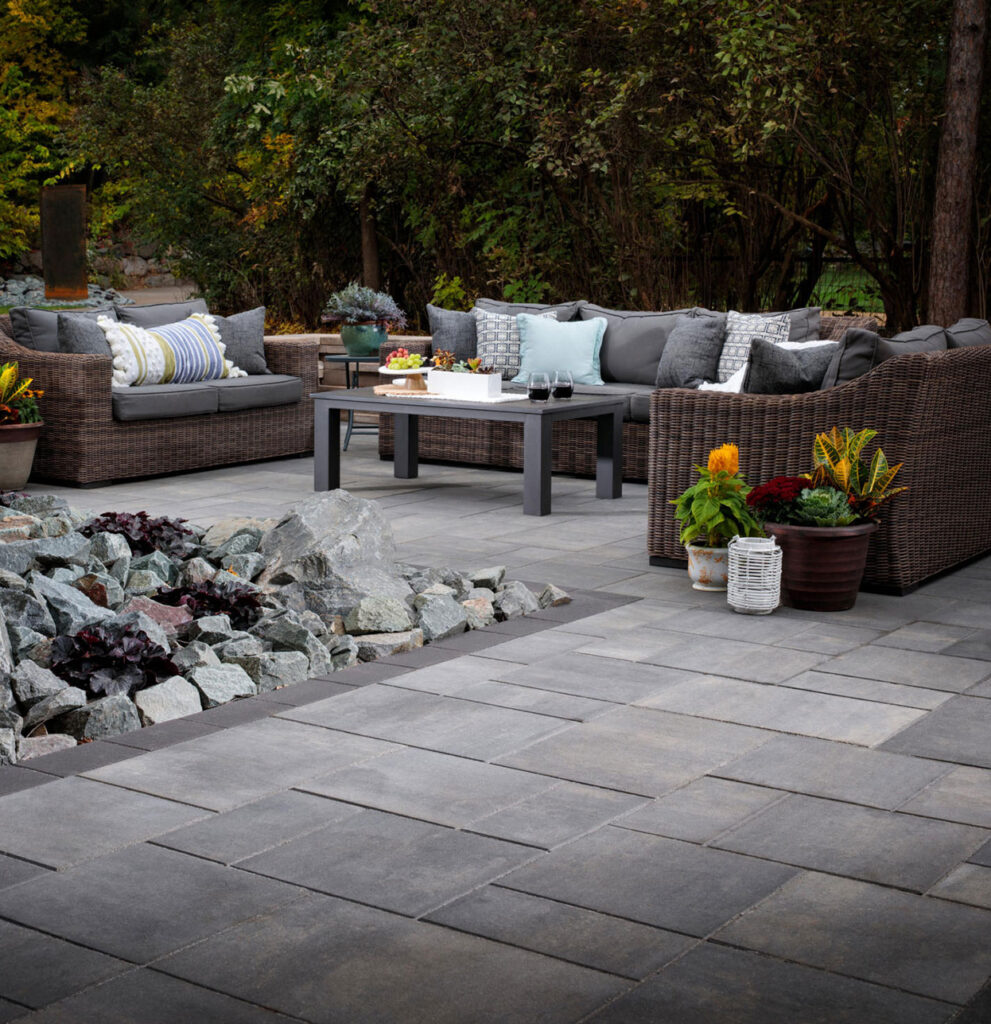
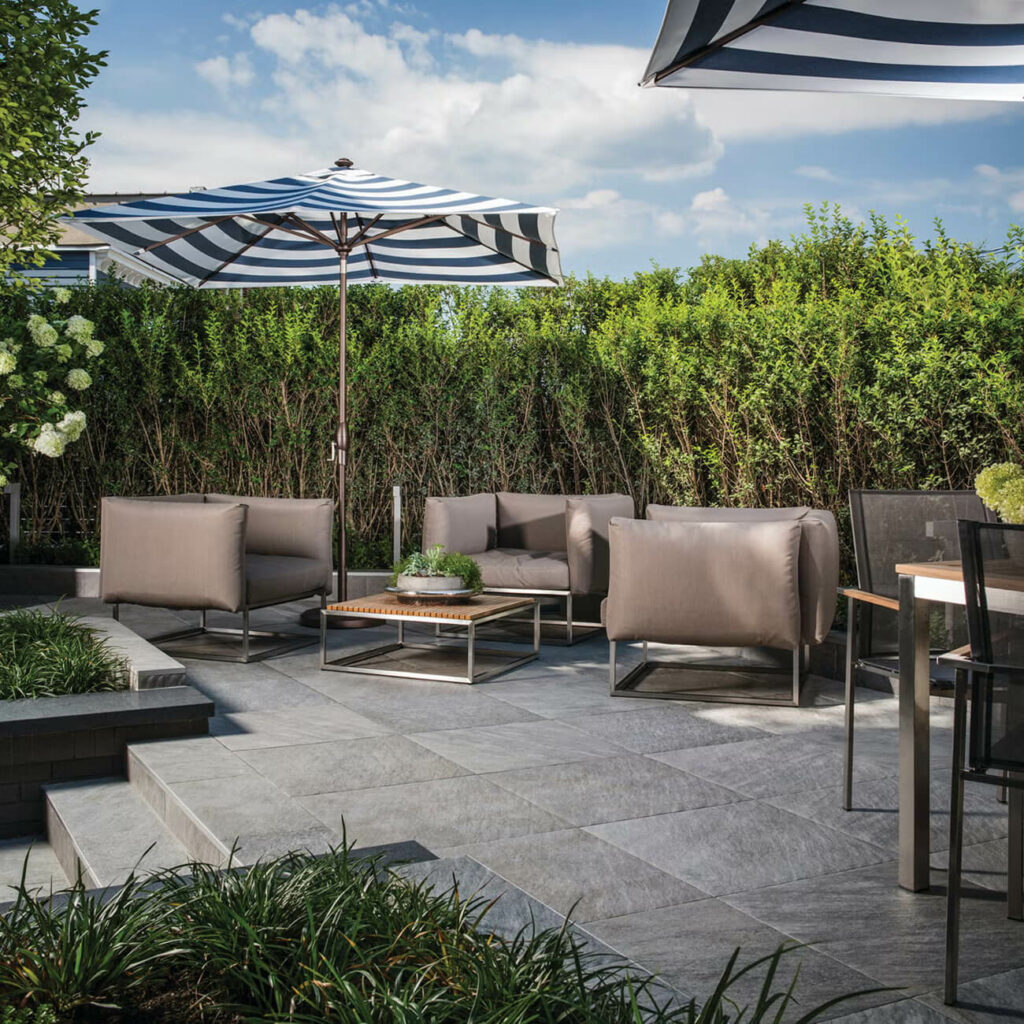
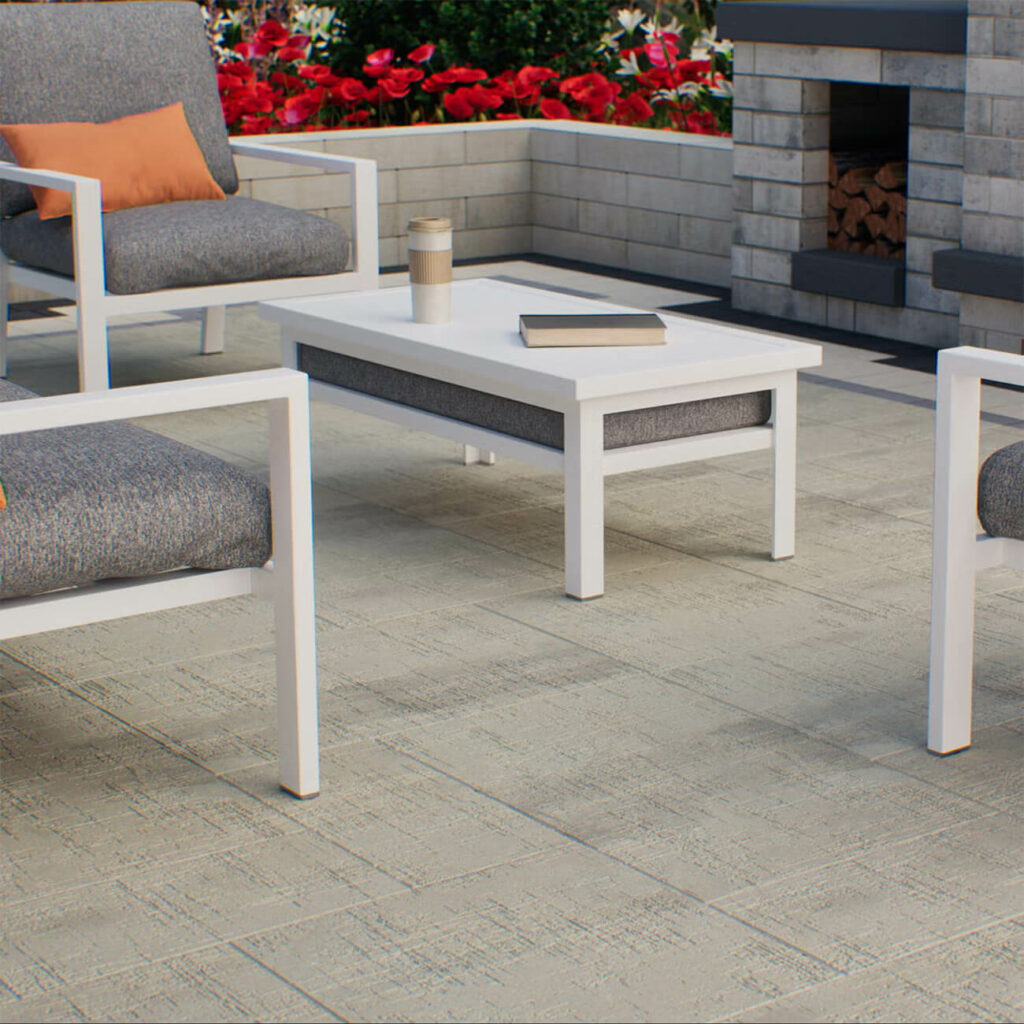
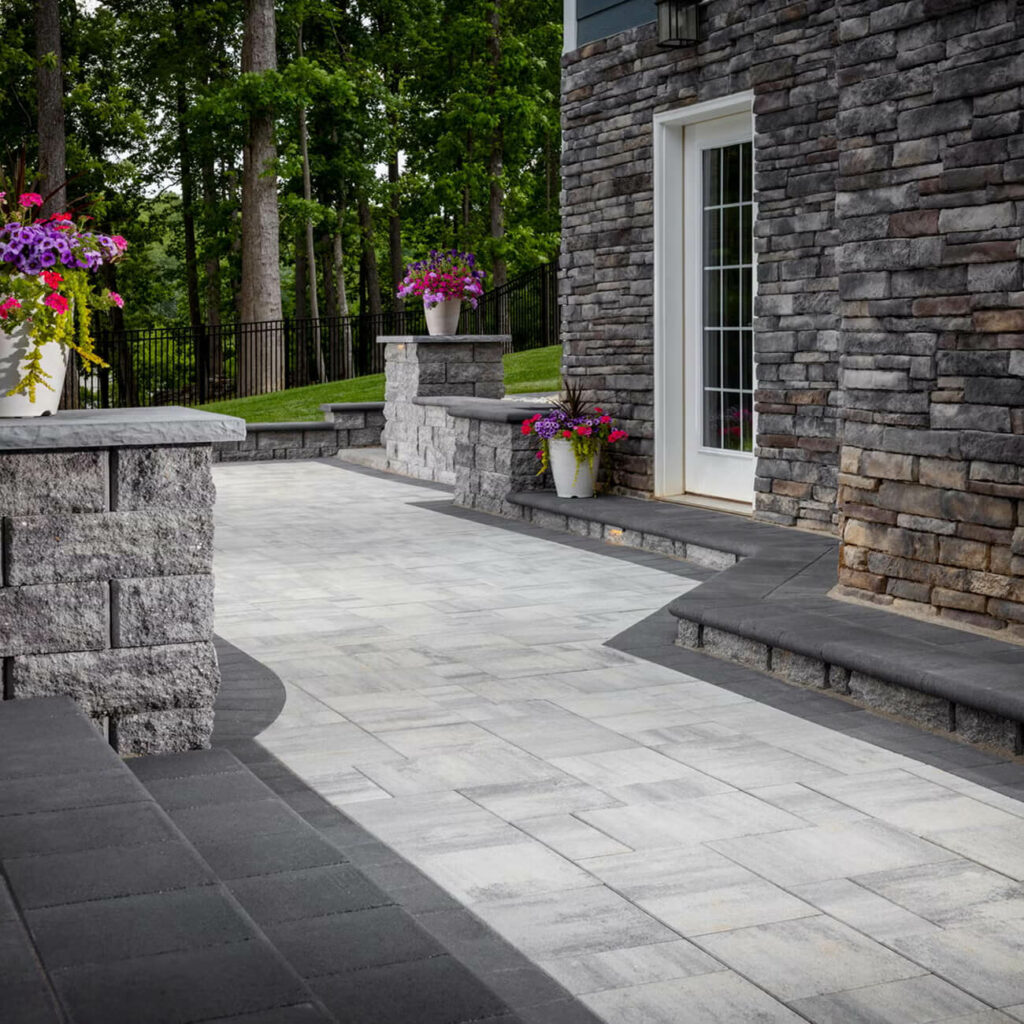
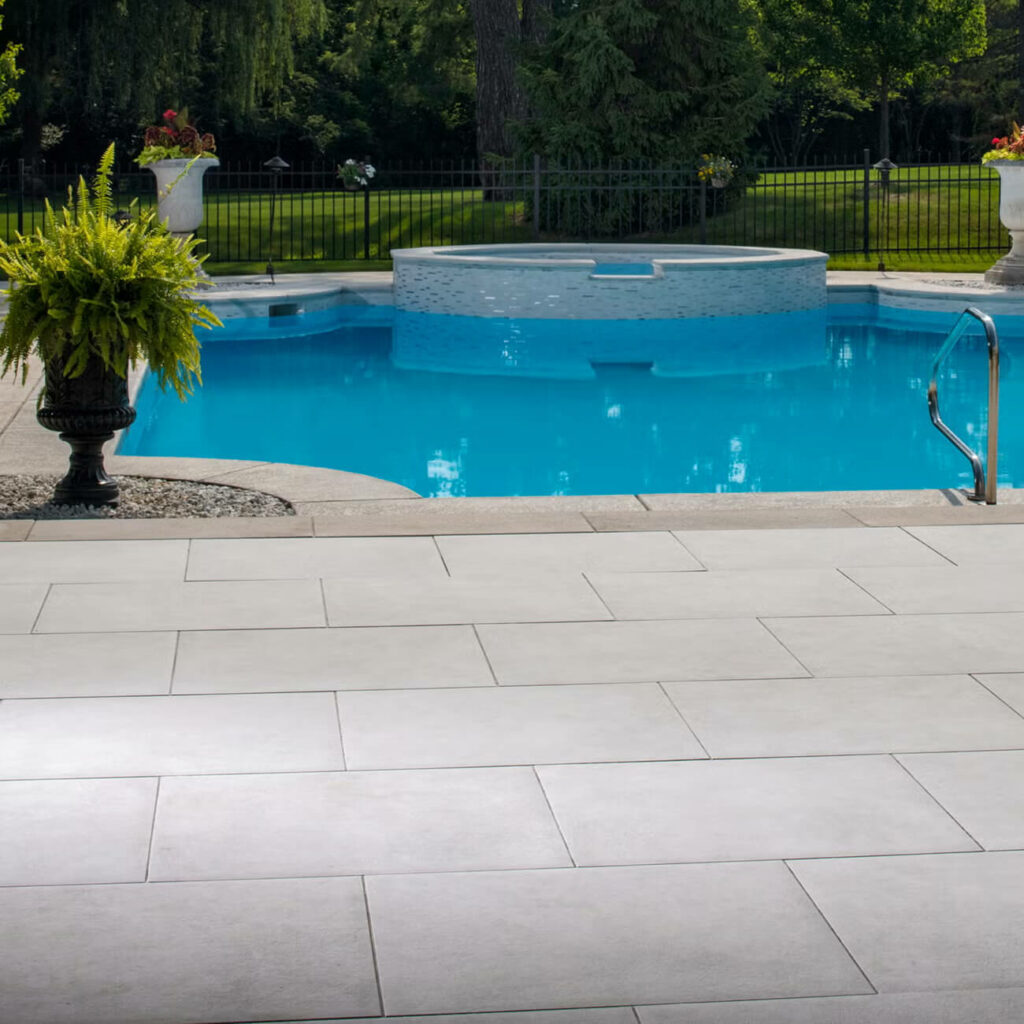
Concrete pavers are the popular choice for Bay Area homes. Choose from a wide variety of colors, patterns, and designs to fit your style. These pavers offer durability and low maintenance, making them perfect for driveways, patios, and walkways. Upgrade your outdoor space with a modern design that’s built to last while adding value to your home.
Paver Driveway
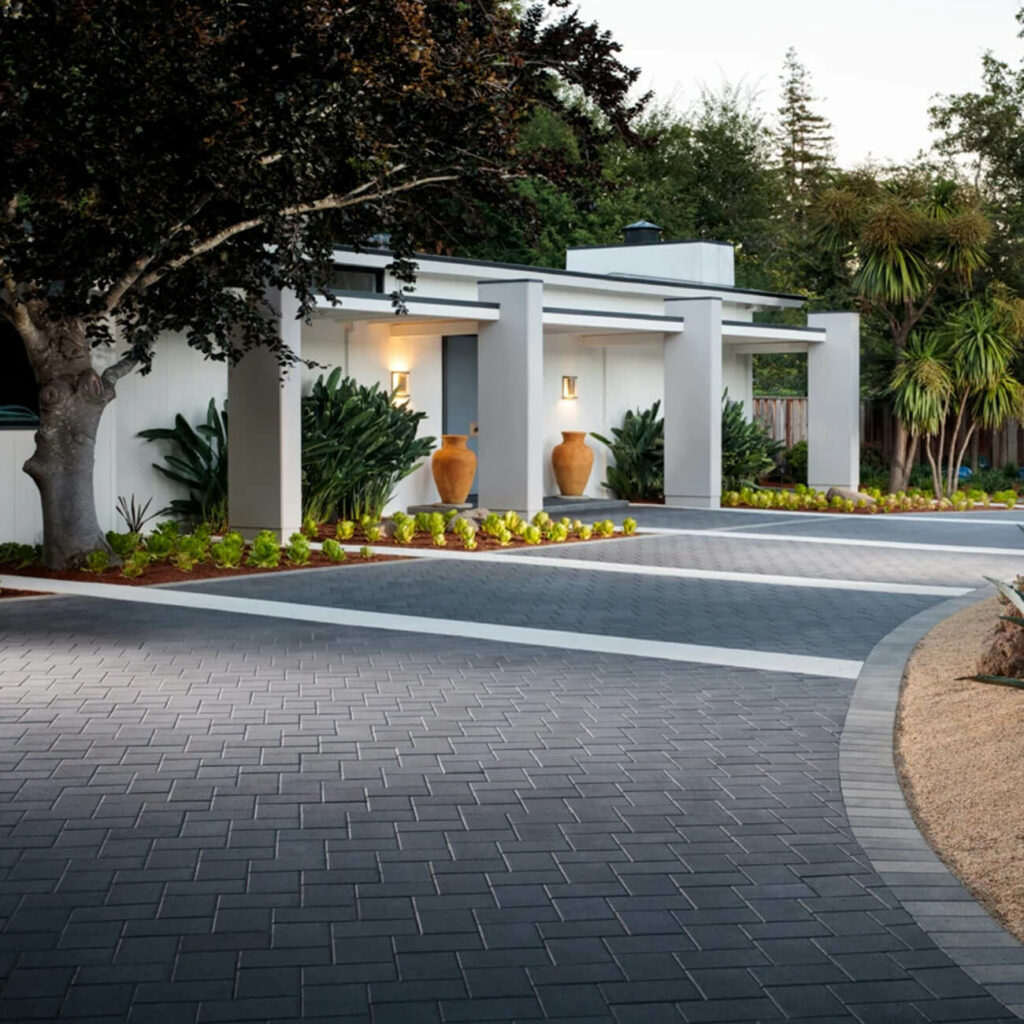
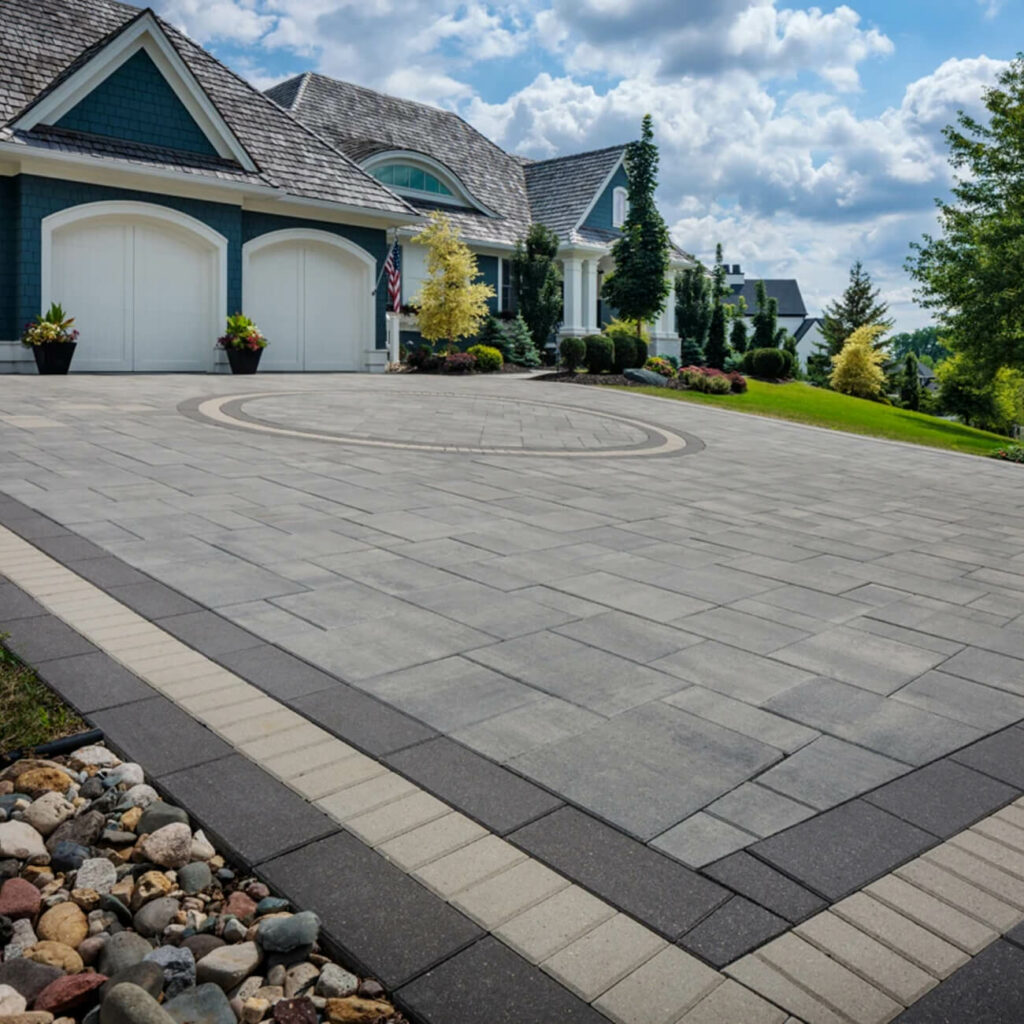
Enhance your home’s curb appeal with elegant stone driveway pavers. These sophisticated surfaces offer superior durability and aesthetic versatility compared to conventional cement. With minimal maintenance requirements and an extensive selection of designs, you can create an entrance that perfectly complements your home’s architectural style.
Paver Walkway
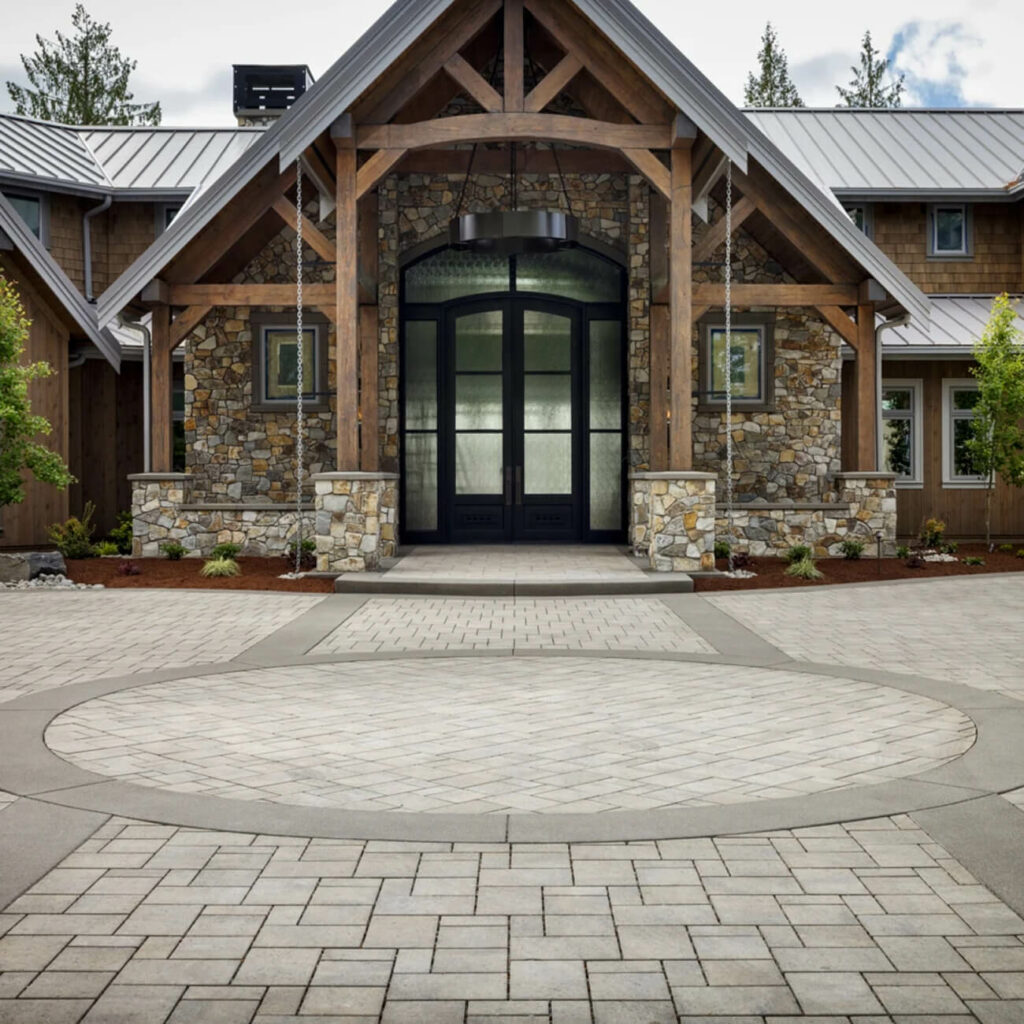
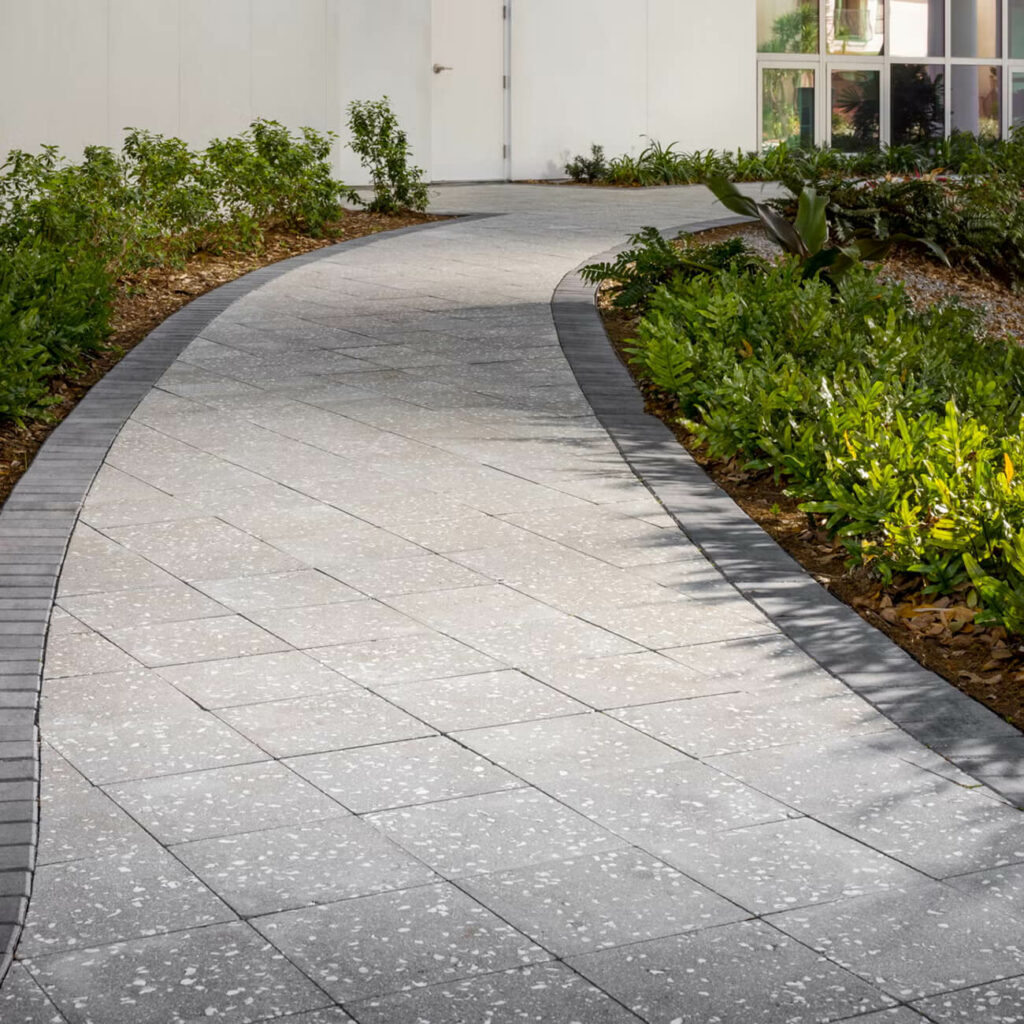
Make a captivating first impression with our premium walkway pavers. Designed to withstand frequent use while maintaining their refined appearance, these pavers offer excellent drainage properties to prevent water accumulation. Choose from our select range to design a pathway that harmonizes with your paver and home’s aesthetic.
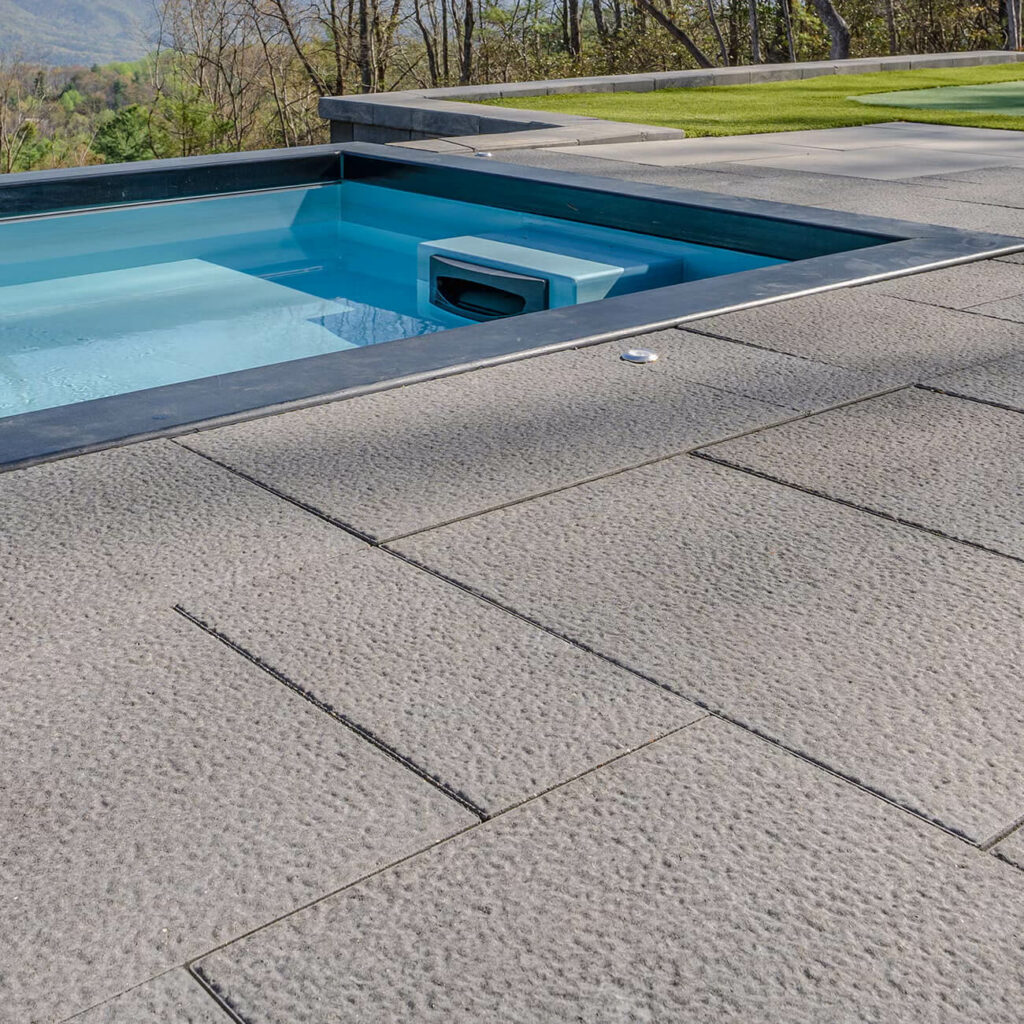
Paver Pool Deck
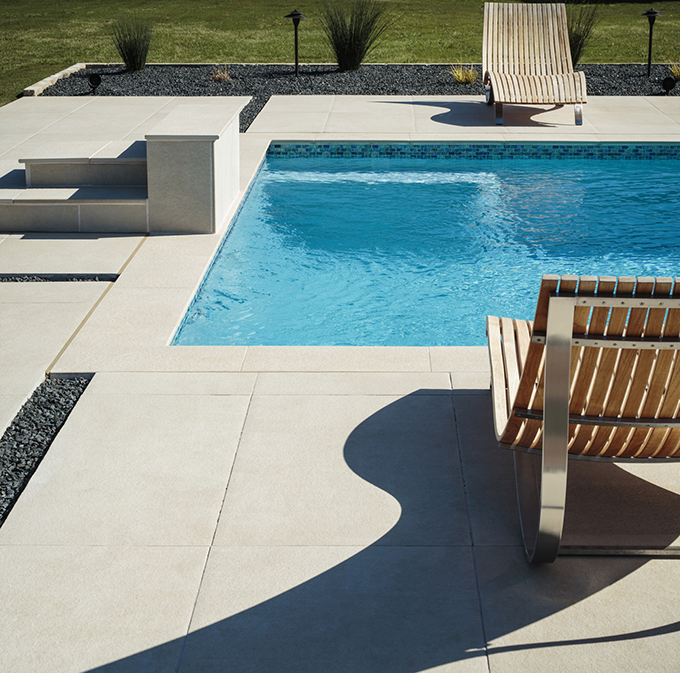
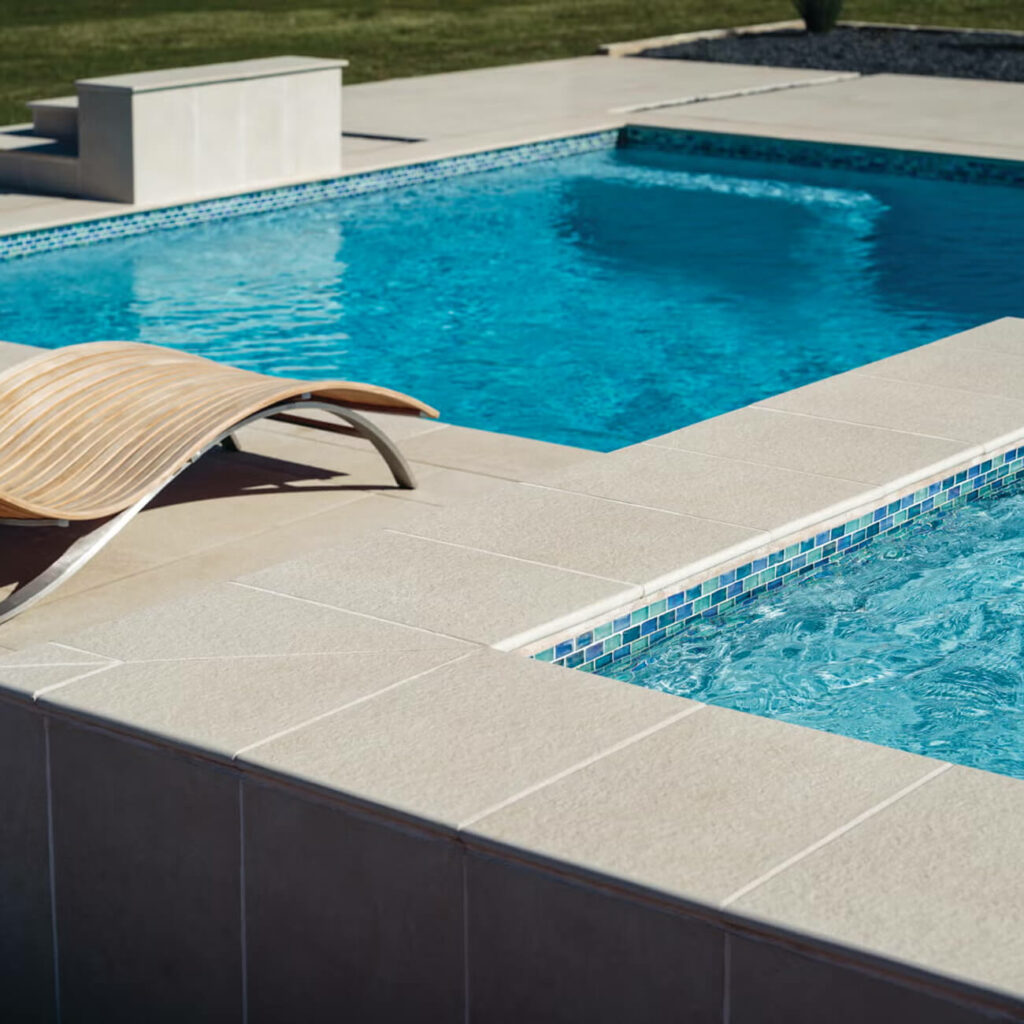
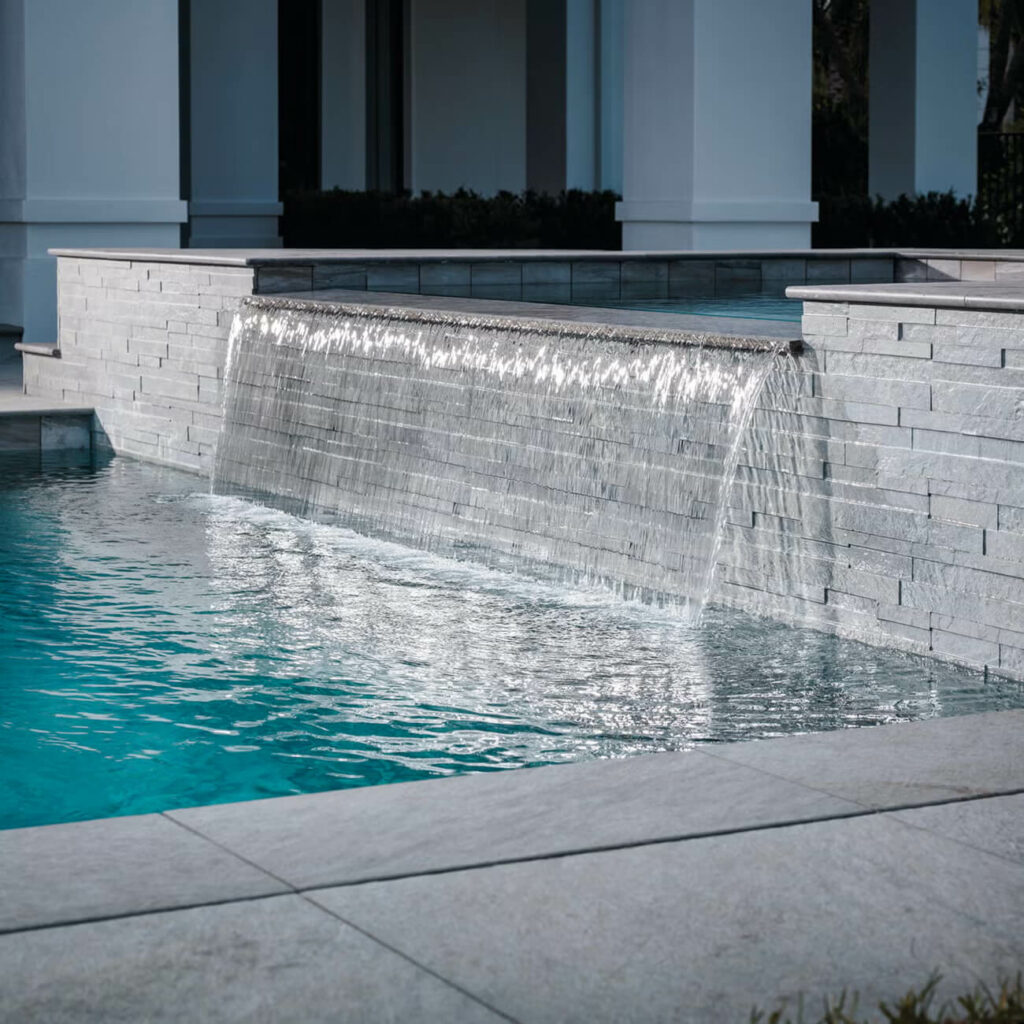
Elevate your pool area with our easy-to-maintain deck pavers. These offer enhanced safety features, including non-slip surfaces, and superior heat resistance for barefoot comfort. Impervious to chlorine and UV damage, they preserve their aesthetic appeal while providing a low-maintenance solution for your poolside retreat.
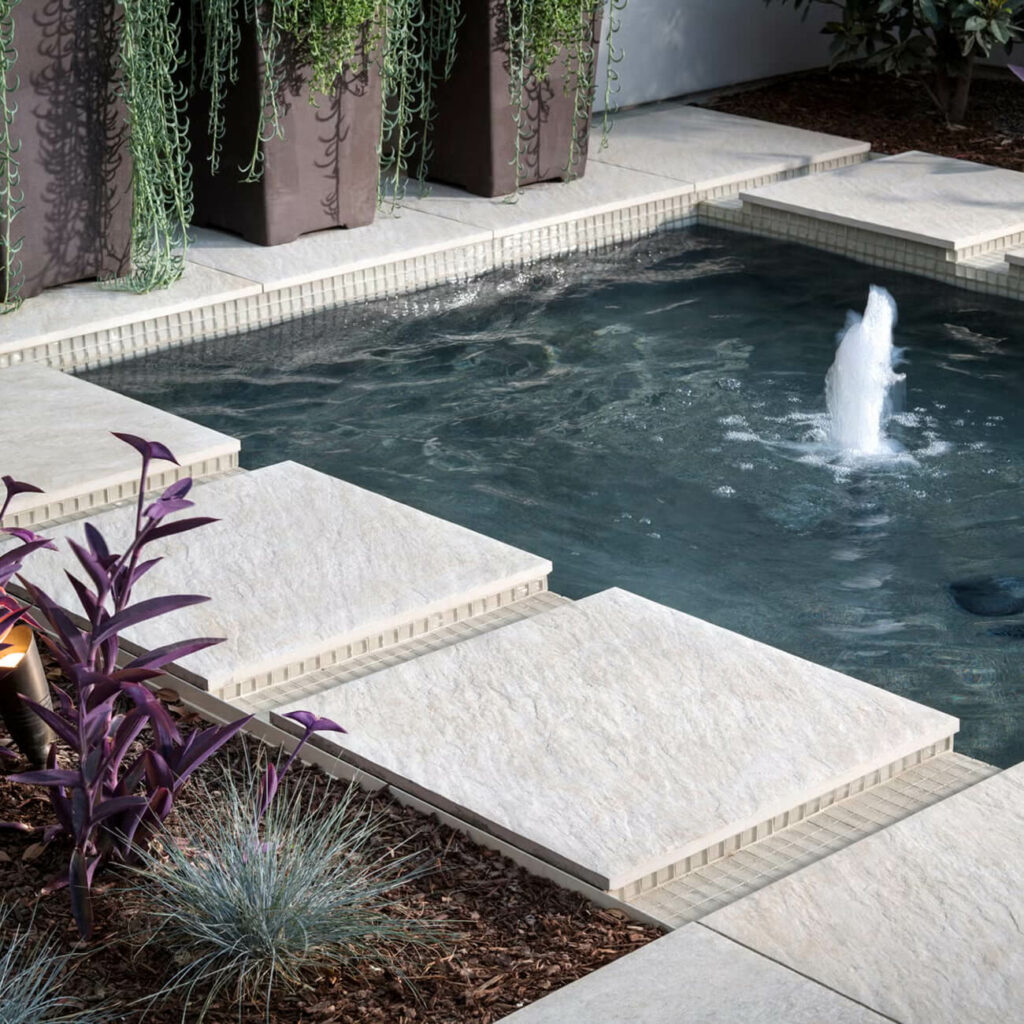
Create Stunning Backyard with Interlocking Concrete or Flagstone Paver Designs
At Sequoia, we offer two premium paver materials to suit your sophisticated outdoor design:
Concrete Pavers
Flagstone Pavers
Ready to Upgrade Your Outdoor Space
Like almost all paver design, the price of pavers is based on materials, square footage, materials, labor, company costs, and overhead. Higher-end materials cost more and are determined by which paver manufacturer you choose:
- Belgard pavers (least expensive)
- Basalite pavers
- Calstone pavers
- Techo – Bloc pavers (most expensive)
Get a free paver estimate today.
Testimonials
Don’t just take our word for it—here’s what our satisfied clients have to say:
Our Paver Patio Installation Process
Prior to the paver installation process, we conduct pre-demolition evaluation to locate utilities like water, gas and electric lines to prevent any problems during installation. This is typically needed along areas where your home’s foundation protrudes into the space where pavers are being installed.
After the pre-demolition process takes place, demolition then starts, removing any existing hard-surface with a Bobcat machine, saw cutting and other demolition tools.
The process of laying the foundation includes excavation, grading (used to create necessary water flow away from a home) and compacting the sub-base using a plate compactor. This will help remove the air gaps
A Class II Road Base is then prepared at six inches for vehicular areas and four inches for pedestrian areas. After the base is set, it’s hosed down and compacted until a 95% compaction level is reached. Once compacted, a one inch layer of bedding sand laid down over the compacted road base.
After the area has been prepared and the foundation placed, a string grid is then laid out from your house and pavers laid according to the design plans.
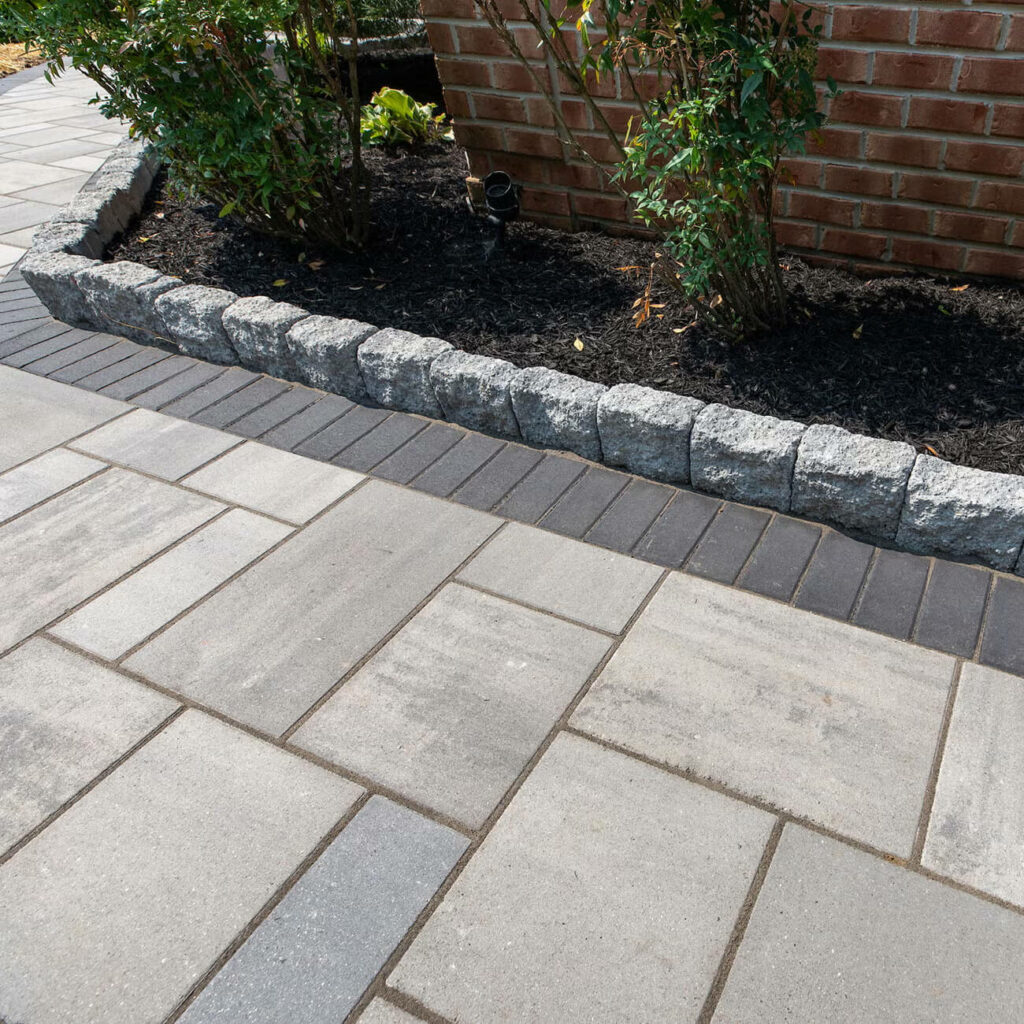
After the area of pavers has been laid down, a border stone of the homeowner’s choice is then laid down around the perimeter of the pavers — each border piece is perfectly cut with a wet saw and placed back in their appropriate location.
After cutting the border pieces, we trench the area under the border stones and a concrete footing is poured into the trenches and the stones then tamped down into place. Once the concrete finishes drying, any excess concrete is removed.
After all the pavers have been laid, we use a plate compactor to compact all the pavers into the bedding sand beneath.
Joint sand is then used to interlock the stones at 1/4 inch on the stone. We then place further sand on top to fill the paver joints.
After filling the joints with sand, all excess debris and sand is hose off and a sealant (optional) is applied to prevent weeds from growing between the pavers.
Paver FAQs
While paving stones and concrete slabs both have their pros and cons, paving stones are significantly more durable.The movement of the earth significantly impacts the longevity of concrete slabs as they’re prone to cracking and splitting if the ground beneath shifts. However, paving stones are four times as strong as a typical concrete slab, meaning they can handle more weight before cracking. Additionally, paving stones are also slip-resistant, easy and affordable to repair, increasing the resale value of a home.
Installing paving stone requires a lot more preparation than laying concrete. Therefore, it’s a more labor intensive installation. With a crew of four to five people, a 1,000 sq. ft. project will take roughly five days to complete. Additionally, pavers are ready to use once the installation is completed since there is no curing time like with concrete.
Your investment in a paver installation is based on square footage, materials, operations, labor, overhead, and company costs. On average your investment will be around $26,000 to install 1,000 sqft of pavers or about $26/sqft. For projects using higher-end materials, your investment will be around $30,000 or more. Let us know what your project will entail and get a free pricing quote!
It’s not recommended to lay pavers down on top of dirt. Instead a Class II Road Base (sub base) should be laid down under pavers. For vehicular areas we recommend six inches of compacted sub base and four inches for the pedestrian areas. One inch of bedding sand should then be laid down over the sub base.
Known as an overlay, concrete pavers can be installed over existing poured concrete slabs if they’re in relatively good condition and with proper installation. However, while it can be an affordable option for many homeowners, it’s not recommended, especially for high traffic areas or those that experience a lot of weight like driveways. Because a concrete slab underneath doesn’t allow for any give, pavers are more likely to rock or crack when installed on top.
Pavers generally last 50-100 years or longer. Sequoia Outdoor paving stones come with a manufacturers’ lifetime guarantee against breaking and cracking as well as the option for a two-year labor and installation warranty.
Complete Hardscape and Softscape Solutions
LANDSCAPING SERVICES
Hardscaping includes the landscape architecture and structural elements like patios, pathways, retaining walls, and outdoor kitchens, while softscaping involves the living elements such as plants, trees, mulch, and garden features. Together, they balance functionality and aesthetics, turning your outdoor area into a cohesive, inviting environment.
Our team excels in blending these elements seamlessly, delivering spaces that are not only beautiful but built to last.
